
Desserts
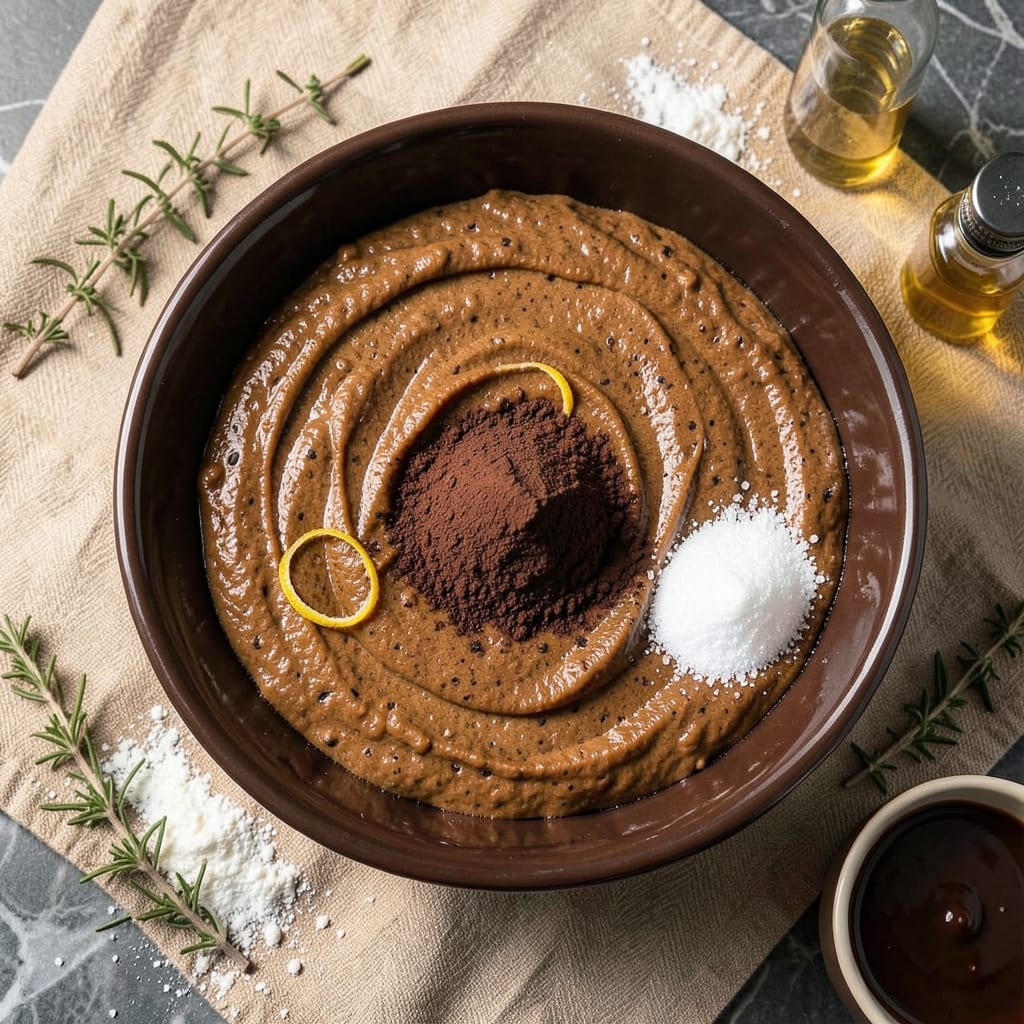
This all-in-one chocolate cake recipe eliminates the mess of multiple mixing bowls while delivering moist, rich layers that taste homemade. The secret lies in combining batter, filling, and frosting in a single pan—no layering stress, no cleanup chaos. I perfected this method after years of baking, ensuring every slice stays tender despite the simplicity. The result? A cake so consistently delicious, even skeptics ask for seconds.
The magic happens with a foolproof technique: a simple batter mix that bakes into a fudgy base, topped with a creamy chocolate filling that stays gooey in the center. No special equipment is needed—just a standard round pan and 30 minutes of active time (plus baking). The frosting layer is built right into the batter, so there’s no waiting for it to set or worrying about it sliding off. This cake is perfect for birthdays, holidays, or whenever you crave chocolate without the fuss.
What sets this recipe apart is the moisture retention—no dry crumbs here. The combination of cocoa powder, buttermilk, and vegetable oil creates a tender crumb that stays soft days after baking. The filling layer adds richness without heaviness, while the frosting topping gives that classic cake look without extra effort. It’s the kind of dessert that looks impressive but comes together effortlessly, making it ideal for both beginners and experienced bakers.
Serve it warm with vanilla ice cream or let it cool for a firmer slice. The possibilities are endless, but the method remains the same: one pan, one recipe, one perfect chocolate cake. Ready to simplify your baking routine? Let’s get started.
Ingredients for all in one chocolate cake
Twelve essential ingredients for a foolproof chocolate cake with layers of moisture and richness.
| Ingredient | Amount | Notes |
|---|---|---|
| All-Purpose Flour 🌾 | 2 ½ cups | Sifted for even texture |
| Unsweetened Cocoa Powder 🍫 | ¾ cup | High-quality Dutch-processed |
| Granulated Sugar 🍚 | 2 cups | White or light brown |
| Buttermilk 🥛 | 1 ½ cups | Room temperature preferred |
| Vegetable Oil 🫒 | 1 cup | Neutral flavor preferred |
| Vanilla Extract 🌿 | 2 tsp | Pure alcohol-free preferred |
| Baking Powder 🧂 | 2 tsp | Aluminum-free recommended |
| Salt 🧂 | ½ tsp | Fine sea salt preferred |
| Semisweet Chocolate Chips 🍫 | 1 ½ cups | Enjoy Life brand for allergies |
| Heavy Cream 🥛 | 1 cup | Cold for filling stability |
| Powdered Sugar 🍚 | 1 ½ cups | Sifted for smooth frosting |
| Dark Chocolate Bars 🍫 | 4 oz | 70% cacao for intense flavor |
The cocoa powder is non-negotiable for that deep chocolate flavor. Valrhona or Ghirardelli are my go-tos, but any high-quality Dutch-processed brand works—just avoid the cheap stuff that tastes bitter. The buttermilk adds moisture without making the cake dense; substitute with 1.5 cups milk + 1.5 tsp vinegar if needed. For the chocolate chips, Enjoy Life brand is my recommendation if you're avoiding allergens, but any quality brand will work. The dark chocolate bars should be 70% cacao or higher for that rich, bittersweet flavor in the filling layer.
No buttermilk? Plain yogurt works at a 1:1 ratio, but the texture won’t be identical. Running short on powdered sugar? Sifted granulated sugar at 1:1 is a decent swap, though it won’t be as smooth. The vegetable oil keeps the cake tender—don’t substitute with butter, as it can make the cake dry. For the chocolate filling, if you can’t find 70% cacao bars, 60% will work but won’t be as intense**. The vanilla extract should be pure—imitation extracts often have a harsh aftertaste.
Store the cake in an airtight container at room temperature for up to 3 days—it actually improves as it sits. For longer storage, wrap tightly in plastic and refrigerate for up to 1 week. The filling layer stays gooey for 2 days at room temperature, so plan to serve it within that window. If you make this ahead, bake it a day early and store it in the fridge—bring it to room temperature before serving for the best texture.
Why You'll Love This Recipe
- One-Bowl Wonder: I swear by this recipe when I’m pressed for time—just toss everything into one bowl, mix it up, and bake. No separate batter, no messy cleanup. The buttermilk keeps it moist without extra fuss, and the cocoa powder does the heavy lifting for that rich chocolate flavor.
- Rich Without Fuss: Honestly, the depth of flavor here surprises me every time. The unsweetened cocoa powder gives it that professional bakery taste, while the sugar and oil create this perfect balance—sweet but not cloying, dense but still light. It’s the kind of cake that makes you forget you didn’t use fancy ingredients.
- Birthday or Breakfast: This cake is my secret weapon for any occasion—whether it’s a last-minute birthday surprise or a midnight craving. The texture holds up well for slicing, and I’ve even served it cold with ice cream for a dessert that feels special but costs next to nothing. (Yes, even on a Tuesday night.)
- Budget Bakery Magic: Between us, this recipe is my go-to for feeding a crowd without breaking the bank. A single box of cocoa powder and a gallon of buttermilk stretch far, and the vegetable oil keeps the cost low while delivering that melt-in-your-mouth goodness. Leftovers? They disappear faster than I can say “second slice.”
Step-by-step instructions for all-in-one chocolate cake
This method delivers rich, moist layers with minimal effort—no separate mixing bowls required.
Combine Dry Ingredients in a Single Bowl
In a large mixing bowl, sift together the 2.5 cups all-purpose flour, 0.75 cup unsweetened cocoa powder, 2 cups granulated sugar, 2 tsp baking powder, and 0.5 tsp salt. Use a whisk to break up any clumps in the cocoa powder and ensure even distribution of the baking powder throughout the dry ingredients.
This foundational step creates a uniform base for the cake batter. I find sifting prevents dense pockets in the final cake, which is especially important for chocolate cakes that can become heavy if ingredients aren't properly aerated. Give the mixture a quick stir until it's completely homogeneous—no flour streaks should remain.
Incorporate Wet Ingredients in One Step
Create a well in the center of the dry mixture and pour in the 1.5 cups buttermilk, 1 cup vegetable oil, and 2 tsp vanilla extract. Using a sturdy spatula, gently fold the wet ingredients into the dry mixture just until combined—you should still see small streaks of flour throughout the batter. This minimal mixing preserves the cake's moisture and prevents overdevelopment of gluten.
Here's the thing—overmixing is the enemy of moist chocolate cake. You want the batter to look thick and slightly shaggy, not smooth. The residual flour ensures tender crumb rather than a dense texture. Add the 1.5 cups semisweet chocolate chips now and fold them in gently to distribute evenly throughout the batter.
Prepare the Chocolate Ganache Filling
While the cake bakes, prepare the filling by chopping the 4 oz dark chocolate bars into small pieces. In a small saucepan, combine the chopped chocolate with the 1 cup heavy cream and heat over medium-low heat, stirring constantly until the chocolate melts completely and the mixture becomes smooth. Remove from heat and let cool slightly—it should thicken to a ganache consistency but still be pourable.
This ganache will be the secret to your cake's moisture. The dark chocolate provides depth of flavor while the cream adds richness. For best results, let the ganache cool to about 100°F before using—it should coat the back of a spoon but still flow freely when poured. If it thickens too much, gently reheat over low heat with a few extra drops of cream.
Bake the Cake Layers
Preheat your oven to 350°F and grease two 8-inch round cake pans thoroughly with butter and line the bottoms with parchment paper. Divide the batter evenly between the prepared pans. Tap each pan firmly on the counter 3-4 times to remove any air bubbles and ensure even baking.
Bake for 28-32 minutes, or until a toothpick inserted into the center comes out with moist crumbs but no wet batter. Chocolate cakes can vary in baking time, so start checking at the 25-minute mark. The edges should be set but the centers should still feel slightly springy to the touch. Rotate the pans halfway through baking for even heat distribution.
Assemble and Frost the Cake
Allow the cake layers to cool in the pans for 10 minutes, then transfer them to a wire rack to cool completely. Once cooled, level the tops if needed using a serrated knife. Place one layer on a cake stand and spread a thin layer of the cooled ganache over the top. Add the second layer and spread remaining ganache over the top and sides of the cake.
Dust the entire cake with the 1.5 cups powdered sugar sifted through a fine-mesh sieve for a professional finish. For extra moisture, you can inject additional ganache through the sides using a piping bag with a small tip. Serve immediately or refrigerate for up to 2 hours before serving—this cake tastes best at room temperature with its filling slightly softened.
Pro Tips For Making All In One Chocolate Cake
- STOP WHEN IT LOOKS DONE: Don’t pull that cake out the second you hit 350°F—wait until the edges pull away from the pan and a toothpick comes out with one moist crumb (not wet batter). I learned this the hard way when my first batch collapsed because I rushed it. The center stays fudgy but firm enough to slice cleanly.
- SIFT THE COCOA: No, you can’t just dump that cocoa powder. Sift it with the flour to break up clumps and avoid a dense, brick-like cake. I used to eyeball it, and the texture suffered—now I measure the cocoa first, sift it into the dry ingredients, then whisk like my life depends on it.
- MEASURE THE OIL PRECISELY: That vegetable oil isn’t interchangeable with butter—use a kitchen scale or measure it in a liquid measuring cup at eye level. Too little and the cake dries out; too much and it turns greasy. I once added “a handful” (bad idea) and ended up with a cake that tasted like a fryer.
- LET THE BATTER REST: Mix the batter, then walk away for 10 minutes. This lets the flour absorb the buttermilk and oil, preventing a gummy texture. I know, I know—you’re eager to bake. But trust me, that short pause makes the difference between a cake that falls apart and one that holds together like it should.
Troubleshooting your all in one chocolate cake
Cake Too Dense
If your cake turns out dense, you likely overmixed the batter or used too much flour. The key is to fold the wet ingredients just until combined—stop when small streaks of flour remain. Also, ensure your cocoa powder is Dutch-processed and sifted, as natural cocoa can absorb moisture and create a heavier texture. Try reducing flour by 1-2 tablespoons next time if your kitchen is humid. 💫
Dry or Crumbly Texture
A dry cake usually means the batter was overbaked or the oven temperature wasn’t calibrated. Bake until a toothpick comes out with moist crumbs (not wet batter), and check your oven’s accuracy with an oven thermometer—many run 25°F hotter than set. For extra moisture, brush the cooled layers with a simple syrup made from ¼ cup sugar + ¼ cup water before assembling. Store in an airtight container to retain freshness longer.
Filling Too Thin
If your ganache filling spreads too thin, it likely cooled too quickly. Warm the ganache gently over low heat with 1-2 teaspoons of heavy cream to restore pourability. For thicker filling, chill the ganache for 10 minutes before using—it should be spoonable but still spreadable. If it seizes up completely, add tiny amounts of cream while stirring until smooth. Pro tip: Use 70% cacao chocolate for a richer, more stable ganache.
Cake Sticking to Pan
Grease your pans thoroughly with butter and line the bottoms with parchment paper to prevent sticking. If the cake still clings, your butter might not be soft enough—use room-temperature butter for even coating. For stubborn cakes, run a thin knife around the edges while the cake is still warm, then invert onto a wire rack. A light dusting of flour on the parchment paper can also help release the cake cleanly.
Uneven Layers or Sinking
Uneven layers often happen when the cake isn’t baked long enough or the filling is too hot. Ensure both layers are fully cooled before assembling, and use a serrated knife to level the tops. For extra stability, chill the cake in the fridge for 30 minutes before serving. If the cake sinks after baking, your oven might be too hot—reduce temperature by 25°F and bake for 5-10 minutes longer. 🔥
Frosting Not Setting
Powdered sugar frosting may not set if the cake is too warm or the humidity is high. Let the cake cool completely before dusting with powdered sugar, and work in a cool, dry environment. For a firmer finish, mix 1 tablespoon of corn syrup into the powdered sugar to help it adhere better. If the frosting slides off, chill the cake for 15 minutes before serving—this helps the sugar crystallize and grip the layers.
Nutrition facts
Frequently asked questions
Can I make this cake in a single 9-inch pan instead of two 8-inch pans?
Yes, but the texture will differ slightly. For a single layer in a 9-inch pan, reduce baking time to 25-28 minutes and expect a denser, fudgier texture. The filling layer will be thicker, so chill the cake for 30 minutes before slicing to prevent sliding. This works best for a trifle-style presentation rather than traditional layers.
Why does your recipe use vegetable oil instead of butter?
Vegetable oil keeps the cake ultra-moist and prevents dryness, which is especially important for chocolate cakes. Butter can sometimes make the cake crumbly, and this method ensures tender layers. For a richer flavor, you can substitute ½ cup melted butter + ½ cup oil, but the texture will be slightly firmer.
How do I adjust the recipe for gluten-free baking?
Replace the all-purpose flour with a 1:1 gluten-free baking flour blend (like Bob's Red Mill) and add ½ teaspoon xanthan gum to improve structure. The rest of the recipe remains the same, but check for doneness at 22 minutes—gluten-free cakes often bake faster. Chill the cake for 1 hour before slicing to prevent crumbling.
Can I make this cake ahead of time?
Bake the layers up to 2 days ahead and store them in an airtight container at room temperature. Assemble the cake just before serving—this prevents the filling from absorbing moisture and keeps the powdered sugar frosting crisp. For longer storage, freeze the baked layers (without filling) for up to 1 month.
What's the best way to serve this cake?
For maximum indulgence, serve warm with a scoop of vanilla bean ice cream or whipped cream. The gooey filling melts beautifully when slightly warmed. For a classic presentation, dust with extra powdered sugar and add fresh berries. This cake also makes stunning cupcakes—divide the batter into 12 lined muffin tins and bake for 18-20 minutes.